A soggy basement is more than just an inconvenience; it’s a threat to your home’s foundation and your family’s health. If you’re tired of that damp, musty smell and the constant worry of water damage, an interior French drain might be the solution. This comprehensive guide will walk you through everything you need to know, from understanding how these systems work to installing and maintaining one yourself.
Understanding Interior French Drains
An interior French drain is an underground drainage system installed inside your basement, along the perimeter walls. Unlike exterior French drains, which intercept water before it reaches your foundation, interior systems capture water that has already entered. They work by channeling water through perforated pipes buried beneath your floor and directing it to a sump pump, which then pumps it out of your house.
How Interior French Drains Work
Think of it like this: the perforated pipes act as a collection system, gathering water seeping through your walls or up through the floor. The surrounding gravel bed acts as a filter, allowing water to easily reach the pipes while preventing soil and debris from clogging them. The collected water flows by gravity toward the lowest point in the system – the sump pit, where the sump pump resides. This pump, the heart of the system, then ejects the water outside, keeping your basement dry. This system is particularly effective against hydrostatic pressure, the force exerted by groundwater against your foundation walls.
When are Interior French Drains Appropriate?
Interior French drains are a good option for unfinished basements experiencing water seepage. They’re generally less disruptive than exterior systems, especially if you have extensive landscaping or hardscaping. For finished basements, installation involves some demolition, but can prevent costly water damage. However, if you’re building a new home or undertaking significant renovations, an exterior system installed during construction may be more cost-effective in the long run.
Installing an Interior French Drain: A Step-by-Step Guide
Installing an interior French drain is a challenging but achievable DIY project. Here’s a detailed guide:
Step 1: Planning and Preparation:
- Identify the Source: Before you start digging, try to pinpoint where the water is coming from. This will help you plan the most effective drainage route. Common culprits include poor grading, clogged gutters, and cracks in the foundation.
- Plan the Route: Map the drain’s path along the perimeter walls, ensuring a gentle slope (1/8″ to 1/4″ per foot) towards the sump pit location. This slope is crucial for proper drainage.
- Check Building Codes: Contact your local building department to determine if permits are required and if there are specific regulations you need to follow.
- Gather Materials: See the comprehensive materials list below.
Step 2: Excavation:
- Dig the Trench: Excavate a trench along your planned route, approximately 8-12 inches wide and 12-18 inches deep. This is the most labor-intensive part of the process.
- Slope the Trench: Ensure a consistent slope towards the sump pit, using a level to check your work as you go.
Step 3: Sump Pit Installation:
- Position the Sump Pit: Dig a hole for the sump pit at the lowest point of your trench. The pit should be large enough to accommodate the sump pump and provide adequate storage for collected water.
- Connect the Discharge Line: Install the discharge line, which carries water away from the sump pump, ensuring it leads to a suitable drainage point outside your home, well away from the foundation.
Step 4: Laying the Drain:
- Line with Fabric: Line the trench with filter fabric, overlapping the edges to create a complete barrier. This prevents soil and debris from entering the gravel and clogging the pipes.
- Add Gravel: Spread a layer of washed gravel, about 4 inches deep, over the fabric.
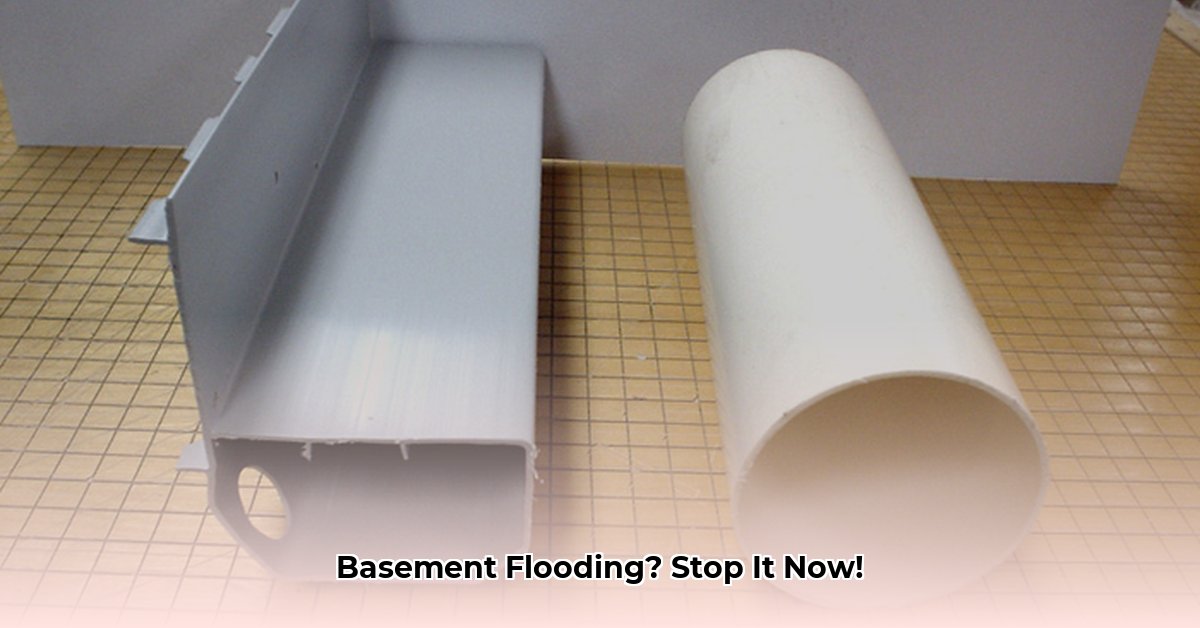
- Place the Pipe: Lay the perforated PVC pipe on top of the gravel, with the holes facing downwards. This allows water to enter the pipe while preventing sediment buildup.
- Connect to Sump Pit: Connect the end of the perforated pipe to the sump pump inlet. Use appropriate connectors to ensure a watertight seal.
Step 5: Backfilling and Finishing:
- Cover with Gravel: Cover the pipe with another layer of gravel, extending a few inches above the pipe.
- Fold Over Fabric: Fold the excess filter fabric over the gravel, creating a protective envelope.
- Backfill the Trench: Fill the remaining trench with the excavated soil or a suitable backfill material.
- Concrete Patching (if necessary): For finished basements, patch the excavated area with concrete, ensuring a smooth, level surface.
Materials List
| Material | Description | Estimated Cost |
|---|---|---|
| Perforated PVC Pipe (4″) | The main channel of your drainage system. Choose a pipe diameter appropriate for your expected water volume. | $1-2 per foot |
| Drainage Gravel (Washed) | Crucial for allowing water to flow to the pipe. Avoid limestone, which can degrade and clog the system over time. Pea gravel is a good choice. | $20-40 per cubic yard |
| Filter Fabric (Landscape Fabric) | A protective barrier between the gravel and the surrounding soil, preventing clogging. | $0.50-$1 per sq foot |
| Sump Pump | The engine that pumps the collected water out of your basement. Choose a pump with sufficient horsepower and capacity for your needs. | $100-300+ |
| PVC Pipe for Discharge Line | Carries the water away from the sump pump. Choose a diameter that matches your sump pump outlet. | $1-2 per foot |
| Sump Pit Basin | A container that houses the sump pump and collects water. Choose a size appropriate for your expected water volume. | $50-150+ |
| Connectors and Fittings | Used to join pipes and ensure a watertight system. Include couplers, elbows, and adapters as needed. | Varies |
| Concrete Mix (if patching) | For patching the floor after installation in finished basements. | Varies by location |
Pros and Cons of Interior French Drains
| Pros | Cons |
|---|---|
| Effective against hydrostatic pressure and seepage | Can be disruptive, especially in finished basements |
| Protects finished areas from water damage (with some demolition) | Relies on a functioning sump pump and electricity |
| Can be a DIY project, saving on labor costs | Doesn’t address the cause of water intrusion, only manages the symptom |
| May increase home value | Reduces usable basement space (slightly) |
DIY vs. Professional Installation
While a DIY installation is possible, it’s labor-intensive and requires a good understanding of drainage principles. If you’re unsure about any aspect of the process, or uncomfortable with excavation and plumbing, hiring a professional is highly recommended. Professionals have the experience and equipment to ensure efficient and correct installation, minimizing potential problems down the road. Incorrectly installed systems can lead to ineffective drainage, further damage, and costly repairs.
Maintaining Your Interior French Drain
Regular maintenance is crucial for the longevity and effectiveness of your system.
- Sump Pump Inspection: Check your sump pump at least annually. Clean the intake screen, test the float switch, and listen for any unusual noises. If you notice any issues, consult a professional.
- Discharge Line Check: Periodically inspect the discharge line for clogs or obstructions. Ensure water is flowing freely away from your foundation.
- Gravel Bed Inspection: Occasionally check the gravel bed for signs of settlement or clogging. You may need to add more gravel over time.
Alternative Solutions
Interior French drains aren’t the only solution for basement waterproofing. Consider these alternatives:
- Exterior French Drains: Intercept water before it reaches your foundation, often a more preventative approach.
- Waterproofing Membranes: Applied to walls and floors to create a barrier against moisture.
- Crack Injection: Seals foundation cracks to prevent water entry.
- Improved Grading: Redirecting water away from your foundation through landscaping.
The best solution depends on the specific cause and severity of your water problem, your budget, and the characteristics of your home. Consult with a qualified waterproofing professional for a personalized assessment and recommendation. Sometimes, a combination of methods is the most effective approach. For persistent or severe water issues, combining an interior French drain with exterior drainage solutions might be necessary. Don’t overlook the importance of proper ventilation, especially after addressing water problems, to prevent mold growth.
Conclusion
An interior French drain can transform a damp, unusable basement into a dry, comfortable space. While the installation process requires effort and planning, the long-term benefits are significant. By understanding the principles behind these systems, following the step-by-step guide, and performing regular maintenance, you can effectively manage basement water intrusion and protect your home investment. Remember to research thoroughly, assess your abilities realistically, and consult with professionals when needed. A dry basement is within reach!

- How to Stop Apps From Running in the Background to Boost Your - December 1, 2025
- How To Move Apps On Your Droid For Better Organization - November 30, 2025
- How to Move Apps on Android for Better Organization - November 29, 2025