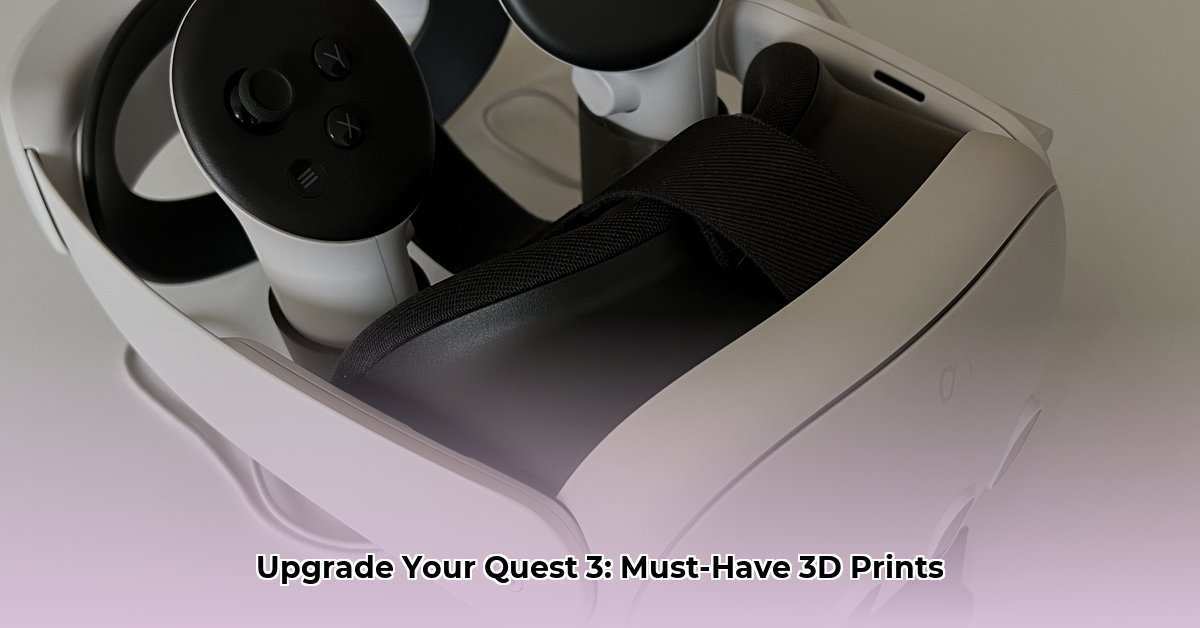
Level Up Your Quest 3 with 3D Printed Accessories
Want to personalize your Meta Quest 3 and boost your VR gaming? 3D printed accessories offer a world of possibilities, from custom head straps for enhanced comfort to specialized controller grips for improved gameplay. This guide provides a comprehensive overview of finding, printing, and assembling your own Quest 3 enhancements.
Discovering Your Perfect 3D Model
Your journey begins with finding the perfect digital design. Online repositories like Thingiverse and Printables offer a vast library of free 3D models, often categorized for easy browsing. Searching for “Quest 3 accessories” or more specific terms like “Quest 3 controller grips” or “Quest 3 head strap” will likely yield numerous results. Keep in mind, newer models often have improvements over earlier versions.
Here’s a quick overview of popular accessory types:
| Accessory | Benefits | Search Keywords |
|---|---|---|
| Head Straps | Improved comfort, reduced head strain, better weight distribution | “Quest 3 Head Strap,” “Halo Strap,” “Elite Strap” |
| Controller Grips | Enhanced grip, better control, reduced slippage | “Quest 3 Controller Grips,” “Knuckles Grips” |
| Face Interfaces | Improved hygiene, enhanced comfort, reduced light leakage | “Quest 3 Face Interface,” “Facial Interface Pad” |
| Wall Mounts | Organized storage, space saving | “Quest 3 Wall Mount,” “Headset Holder” |
| Lens Protectors | Protection from scratches and dust | “Quest 3 Lens Protector,” “Lens Cover” |
| Controller Gun Stocks | Immersive experience for shooter games | “Quest 3 Controller Gun Stock,” “VR Gun Stock” |
| Custom Grips | Improved ergonomics for specific games & controllers | “Quest 3 Custom Grips,” “[Game Name] Controller Grip” |
Selecting the Right Filament and Printer Settings
Choosing the right filament is crucial. PLA is a good starting point—easy to print and widely available. PETG offers greater durability, while flexible TPU is ideal for grips. Some creators may suggest specific filaments for their designs.
Key printer settings include:
- Infill: Higher infill (30-50%) increases strength but also print time. Lower infill (10-20%) is suitable for less demanding parts.
- Supports: Essential for overhanging parts, but choose support types that are easy to remove. Tree supports are often a good option.
- Layer Height: Lower layer height (0.1mm-0.2mm) results in smoother prints but increases print time. 0.2mm provides a good balance for most accessories.
Consult online resources or community forums for specific filament and printer setting recommendations.
Printing and Assembling Your Accessories
Once you’ve downloaded your chosen STL file, import it into your slicer software. This software translates the 3D model into instructions your printer can understand (G-code). Configure your settings, add supports if needed, and generate the G-code. Transfer the file to your 3D printer, load the filament, and start printing!
Most designers include assembly instructions with their models. This may involve screws, glue, or other methods. Follow the instructions carefully.
Troubleshooting Common Printing Problems
Encountering issues? Here are solutions to some frequent problems:
- Bed Adhesion: Ensure a clean print bed (isopropyl alcohol works well). Properly level your print bed. Consider using adhesives like hairspray, glue sticks, or specialized adhesive sheets.
| Adhesion Method | Pros | Cons |
|---|---|---|
| Hairspray | Cheap, readily available | Can leave a residue, inconsistent results |
| Gluestick | Easy to apply, even coverage | Can be messy |
| Adhesive Sheets | Strong adhesion, consistent results | More expensive |
- Stringing: Adjust retraction settings (speed and distance). Also, check your nozzle temperature—too high can cause excessive oozing.
- Warping: Ensure proper bed temperature and consider using a brim or raft.
Online communities and forums are invaluable resources for troubleshooting. Don’t hesitate to ask for help!
Finishing Touches: Painting and Personalization
Sanding, priming, and painting can enhance the look and feel of your printed accessories. Multiple thin coats of paint are preferable to one thick coat. A clear coat sealant adds durability and shine.
Joining the 3D Printing Community
Connect with fellow enthusiasts online! Subreddits like r/3Dprinting and r/virtualreality and various Facebook groups offer opportunities to share your creations, ask questions, and learn from others.
The Future of Quest 3 3D Printing
As the Meta Quest 3 ecosystem evolves, likely, we will see even more innovative designs. 3D printing offers the potential to personalize VR experiences in ways we can only imagine. Ongoing research may lead to new materials and techniques for creating even more advanced and customized accessories. Explore, experiment, and enjoy the endless possibilities of 3D printing for your Meta Quest 3!

- How to Stop Apps From Running in the Background to Boost Your - December 1, 2025
- How To Move Apps On Your Droid For Better Organization - November 30, 2025
- How to Move Apps on Android for Better Organization - November 29, 2025