Ever feel like your car is losing its pep? Stuttering, rough idling, or a noticeable lack of power could mean trouble with your spark plug wires. These crucial components are essential for a smooth ride, and ignoring problems can lead to bigger issues (and repair bills!). This guide will show you how to spot the warning signs, diagnose the problem – even test them yourself if you’re comfortable – and walk you through replacing them. Whether you’re a DIY enthusiast or just want to be informed before you visit a mechanic, you’ll be ready to get your engine back in top form.
Recognizing Bad Spark Plug Wire Symptoms and Performance Issues
Spark plugs and their connecting wires are vital for your engine’s health. They are the electrical pathway igniting the fuel-air mixture – no spark, no go! Ignoring problems with these parts can lead to frustrating breakdowns, poor gas mileage, and costly repairs. Faulty spark plug wires cause a range of problems, from rough idling to complete engine failure.
Spotting the Symptoms: Is Your Engine Trying to Tell You Something?
Your car communicates through performance. Is it sputtering like it’s running on fumes, even with a full tank? Does it hesitate when you accelerate? A rough idle, where the engine shakes noticeably, is another major clue. If your gas mileage suddenly drops, that’s a red flag. These symptoms could point to trouble with your spark plugs or wires. The wires deliver the spark to each cylinder. If the message isn’t getting through clearly, your engine’s performance suffers.
Visual Inspection: The First Step
Before you dive into anything complicated, grab a flashlight and take a peek under the hood. Always disconnect your battery’s negative terminal before starting work on your engine’s electrical system to prevent accidental shorts and electrical shocks.
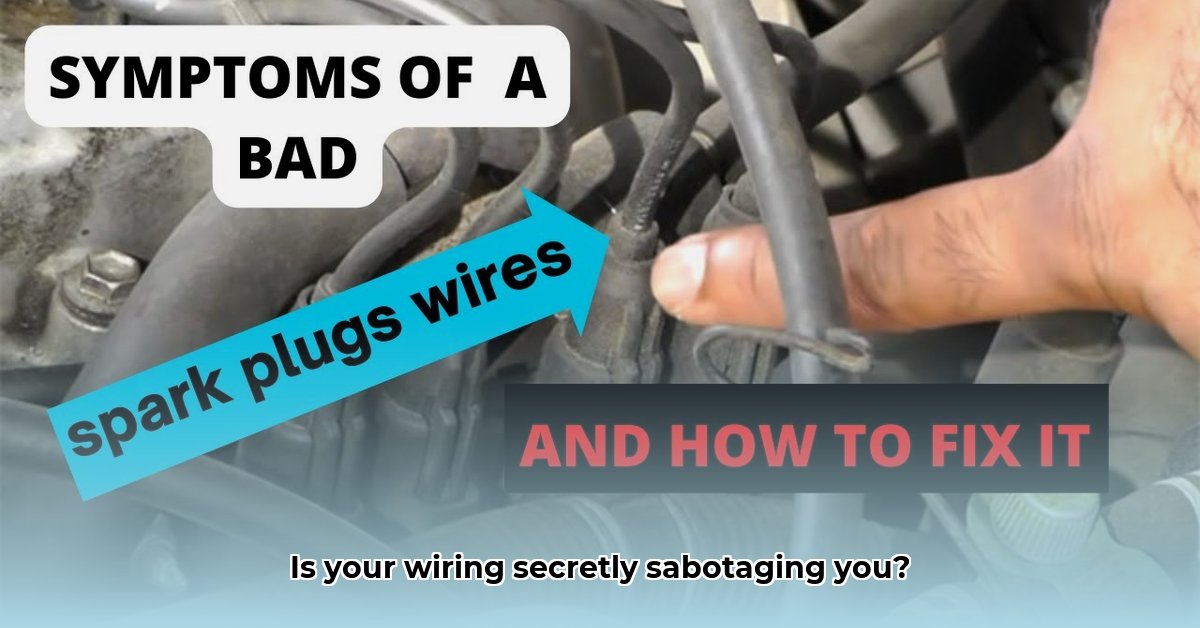
- Open the Hood: Carefully inspect each spark plug wire, focusing on the wiring itself and the rubber boots that connect to the spark plugs.
- What to Look For: Check for cracks in the rubber boots. Cracks are like tiny holes, letting high voltage escape, causing misfires and poor performance. Look for fraying, melting, or discoloration of the wire insulation, signs that the wiring is breaking down and losing its ability to carry electricity for a good spark. Even minor damage can significantly impact performance.
- Check the Connections: Ensure each boot is securely attached to the spark plug. A loose connection is as bad as a broken wire. A firm, snug fit is essential for a reliable spark.
- Document Your Findings: Take pictures of any damage you find. This helps later if you replace the wires or take your car to a mechanic.
Advanced Diagnosis: Using a Multimeter
If the visual inspection doesn’t reveal anything obvious, but the engine is still misbehaving, you might need a multimeter (ohmmeter) to test the resistance in each wire. This measures how well electricity flows through each wire. If you’re not comfortable dealing with electrical equipment, it’s best to leave this step to a professional mechanic. Improper testing can damage your car’s electrical system.
If you are comfortable proceeding, here’s a general outline. Always consult your vehicle’s repair manual for the correct resistance specifications.
- Prep Your Multimeter: Set your multimeter to the ohms setting (Ω symbol).
- Test Each Wire: Disconnect one end of a spark plug wire at a time and carefully place the multimeter probes on each end. The reading should fall within the range specified in your vehicle’s manual.
- Interpret the Results: A much higher reading suggests a damaged or faulty wire. This means the wire’s resistance to electric current is too high, impeding the flow of energy needed for a proper spark.
Replacing Spark Plug Wires: A DIY Guide
Replacing spark plug wires is a moderately challenging DIY repair, suitable for those with some mechanical experience. Always disconnect the negative battery terminal before starting any electrical work.
Tools You’ll Need:
- New spark plug wires (the correct ones for your vehicle)
- A wiring diagram (owner’s manual or online for your car’s year, make, and model)
- A socket wrench (to remove and reinstall the spark plugs, if necessary)
- Dielectric grease (optional, but recommended)
Step-by-Step Replacement:
- Disconnect the Negative Terminal: Disconnect the negative battery terminal.
- Remove the Old Wires: Carefully disconnect the old wires from the spark plugs and the distributor cap (if applicable). Take photos as you go – this will be your roadmap during installation.
- Install the New Wires: Follow your wiring diagram religiously. This ensures each wire goes to its correct spark plug. Incorrect placement can lead to misfires, poor engine performance, or damage. Securely attach the wires to prevent them from shorting on the engine block or hot engine parts.
- Use Dielectric Grease: A small amount on the spark plug boot’s contact surfaces helps create a better electrical connection and makes future removal easier.
- Reconnect the Battery Terminal: Double-check all your connections. Once everything is firmly connected, reconnect the negative battery terminal. Start your engine and listen for any changes in its sound.
Preventative Maintenance
The best way to deal with bad spark plugs and wires is to prevent them from going bad in the first place! Regular visual inspections are crucial. Check your wires every time you rotate your tires or perform other routine maintenance tasks. Your owner’s manual contains a recommended replacement schedule based on your car’s mileage and age, but generally, inspect them every 30,000-50,000 miles. Catching small problems early can save you from bigger, more expensive issues.
When to Call in the Pros
If you’re not comfortable with any of these steps, or if you’re unsure about anything, take your car to a qualified mechanic. They possess specialized tools and the expertise to correctly diagnose the problem. A small issue could become a major engine problem if not addressed appropriately. A professional diagnosis and repair is always preferable to potentially damaging your vehicle. Seek professional advice when dealing with uncertainties regarding your vehicle’s electrical system.
Pros and Cons of DIY Spark Plug Wire Replacement
| Feature | Pros | Cons |
|---|---|---|
| Cost | Cost savings compared to professional repair. | Risk of incorrect installation leading to further damage or fire. |
| Time Investment | Saves time if familiar with basic auto maintenance. | Can be more time consuming if you encounter unforeseen problems. |
| Skill Requirement | Requires basic mechanical aptitude and attention to detail. | Improper diagnosis or installation could lead to serious engine damage. |
| Satisfaction | Satisfaction of fixing a problem yourself. | Potential for frustration if unable to successfully complete the repair. |
Addressing issues with your spark plugs and wires promptly is key to maintaining your engine’s health and performance. Regular visual inspections coupled with preventative maintenance are the best defense against breakdowns. Proactive care goes a long way!
Diagnosing Bad Spark Plug Wires Using an Ohmmeter
Key Takeaways:
- Visual inspection is the first step. Look for cracks, wear, or corrosion.
- An ohmmeter confirms suspicions about wire condition.
- Knowing your car’s system (coil-on-plug vs. distributor) matters.
- Understanding resistance readings is key—high resistance means trouble.
- Regular inspection and preventative maintenance save headaches and money.
Recognizing the Warning Signs
Is your engine sputtering? Running rough? Experiencing a drop in power? These could be signs of failing spark plug wires. Damaged wires disrupt the spark needed for combustion. Think of those wires as tiny, high-voltage highways, and a breakdown anywhere along the length can cause significant problems. Here are some additional, more nuanced signs to look out for:
- Increased Fuel Consumption: Damaged wires can lead to incomplete combustion, forcing your engine to use more fuel to maintain performance.
- Check Engine Light: The car’s computer may detect misfires caused by faulty wires and trigger the check engine light. A diagnostic scan will reveal error codes related to misfires.
- Radio Interference: In some cases, deteriorated spark plug wires can cause interference with your car’s radio, producing static or unusual noises.
- Starting Problems: While a dead battery is a more common culprit, bad spark plug wires can also make it difficult to start your car, especially in cold weather.
- Smell of Fuel: Incomplete combustion due to faulty wires can sometimes lead to a faint smell of unburnt fuel, especially when starting the engine.
Understanding Spark Plug Wire Resistance
Spark plug wires aren’t just simple conductors; they’re designed with a specific resistance to suppress radio frequency interference (RFI) that can disrupt electronic components. This resistance is measured in ohms per foot of wire length. Your vehicle’s service manual provides the acceptable resistance range for your specific engine. Key factors affecting resistance include:
- Wire Length: Longer wires naturally have higher resistance.
- Wire Type: Different wire materials (carbon core, copper core, etc.) have varying resistance characteristics.
- Temperature: Resistance can change slightly with temperature fluctuations.
Performing an Accurate Resistance Test
To test spark plug wire resistance accurately, follow these steps:
- Safety First: Wear safety glasses and gloves. Ensure the engine is off and cool. Disconnect

- How to Stop Apps From Running in the Background to Boost Your - December 1, 2025
- How To Move Apps On Your Droid For Better Organization - November 30, 2025
- How to Move Apps on Android for Better Organization - November 29, 2025